Friday, July 21, 2006

crazy party last night


FYI: there will be no tips or tricks in this entry.

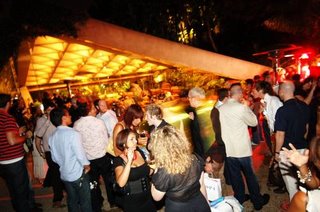
Last night I helped a friend out (Paul McKelvey) to cover a party in Beverly Hills- we were shooting for Jane Magazine. Heidi Klum was the host (she was there for about 30 min) and there were sponsors galore.
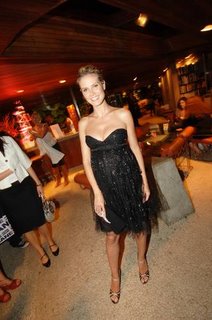
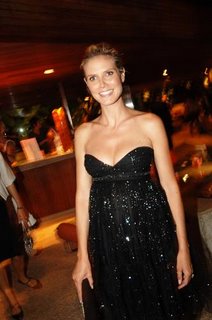
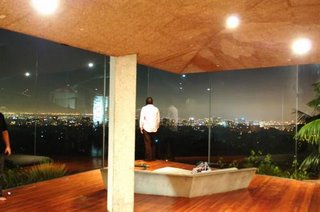
I have never been to a Hollywood party and was amazed at all the free stuff people get. The party was at the residence of James Goldstein (some crazy rich Hollywood guy). This place was the coolest house I had ever been in- it was designed in 1971 by Lautner- they call it 'The Lautner House'. It has been the subject of many magazine articles and many fashion shoots.

the master bedroom, yes that is downtown LA in the distance...
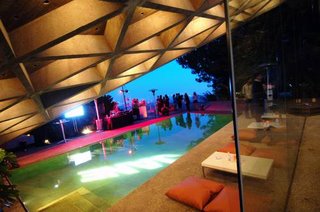
There were a few stars there, me, being the non-TV watcher didn't know anyone....
The biggest star I knew, besides Heidi was the son of the guy who started Jet Blue:
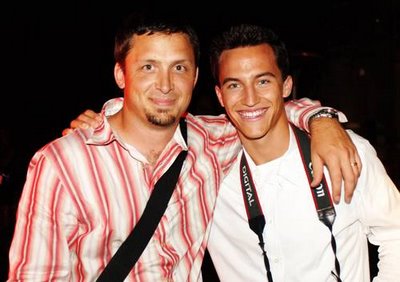
Just kidding, that's Brandon, my assistant and buddy!!

It was definitely a cool experience and would like to do it again sometime... it's a good way to get 'in' and shoot some cool weddings!!

Wednesday, July 19, 2006

it always helps to start with a great subject


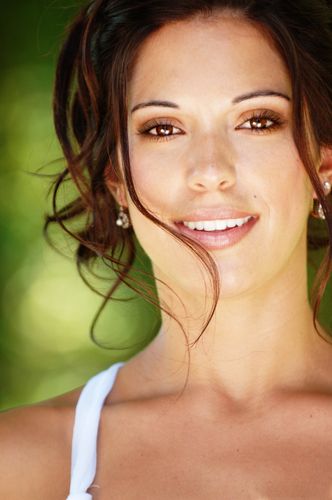
So, the easiest way to make a great portrait is to start with a great subject. Jen, above, from last Saturday's wedding was a great model. Not only is she beautiful (which also helps in making a nice image), but she was confident enough to play and move and have fun.

With subjects that are less pro than Jen I always try to get them to move and play a little. It feels very goofy to act like a model if you have never done it before so most of the time my clients are a little static. I explain that the more they move, the more varied the shots will be and the more we will have to choose from. I then encourage them with compliments when they start to loosen up and the ball gets rolling.

I am not a good poser because set-up shots to me look too fake... I let my subjects move and play while I shoot. As they are moving around there are moments when everything just lines up and 'clicks'. Then I yell "stop, hold it" and continue to shoot at different angles and with different lenses. This looks way more natural than any pose I could force upon them....

ps: Jen and her new hubby got a video ipod with a slideshow of images on it the morning after their wedding- they were stoked!!

Wednesday, July 12, 2006

My First Magazine Article


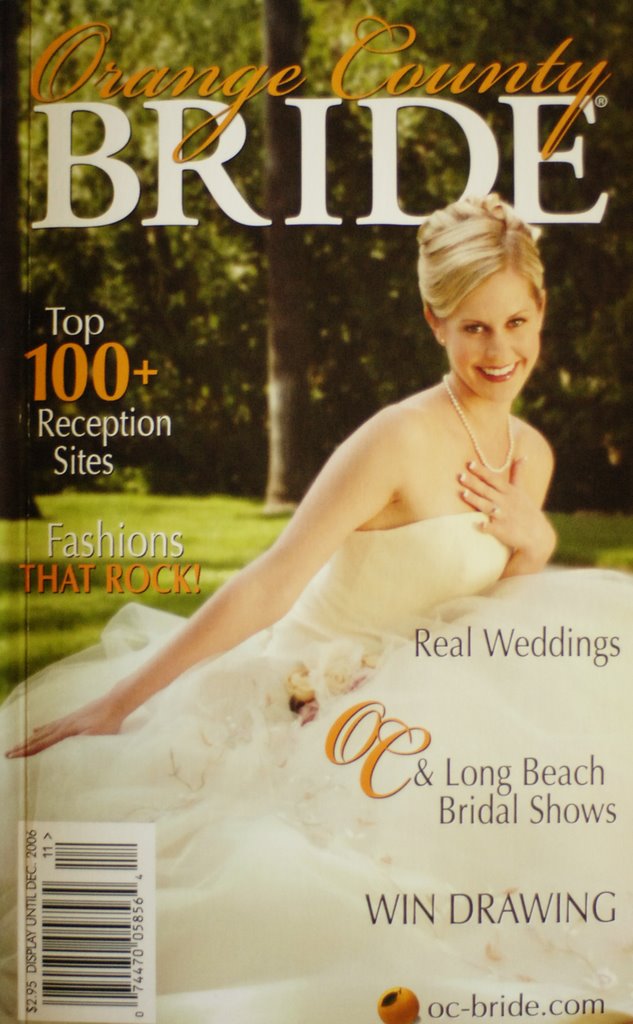
So I was at a wedding planners meeting last night and finally met the editor of this little OC magazine who I have been emailing for the last couple of months- she requested some images from a recent wedding after seeing them online.

She was excited to finally meet me and to tell me I was in the current issue!! I was pretty excited about it and was showing everyone at the event- My first real magazine spread (the two pages above). The cool thing is that I am not even an advertiser- some other mags use images from weddings shot by their advertising photographers- so this is cool.

These little books get passed out all over OC- at many venues.

Sunday, July 09, 2006

full sun

It used to be that you couldn't shoot people in full sun with a digi (due to the low latitude- overexposing highlights) even though I have been using the D2x for over a year now, which handles high contrast situations very well, I still have to force myself to do so. I also haven't used a circular polarizer much since film days shooting transparencies. Putting a polarizer on and off a lens is a real pain for lazy- sorry, efficient shooters like me but with a big sky in the shot it makes for an awesome blue background...


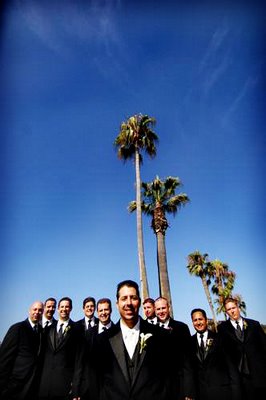
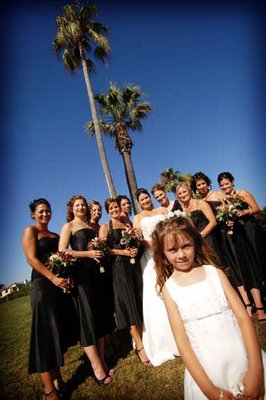
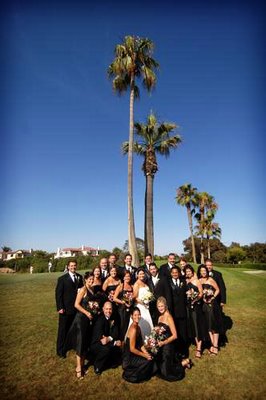
I thought I would shoot the groomsmen yesterday with the sun at my back with a polarizer on the 12-24 lens to get some cool shots of the blue Huntington Beach sky along with some palm trees. After chimping these shots I got really excited- I have been known to freak out a little when the shots are getting good.... I decided to shoot the girls and the entire Bridal Party in the same way. I say entire because there were 9 guys and 9 girls not including the B&G!!


The other cool thing is that these shots need no corrections usually and the full frame 3D matrix metering mode gives an exposure that is usually right-on... RIGHT-ON, MAN! HAYYYYYYYY! Easy and fast--

tip: if your lenses take different size filters- get a polorizer for your widest lens as that's where I use it most- even though mine fits all three of my most-used lenses. Also, a circular polarizer is way more expensive, but you have to use one if you are using autofocus....

Thursday, June 29, 2006

Bride's Resource Site

I just got this month's email newsletter from Amy at Amy's Guide.com. She is a coordinator on the east coast and has a very informative site/ newsletter.

The thing that struck me was her note about PaperBride.com- very cool stuff. And the companion site PaperMama.com.

Check it out and subscribe to her newsletter if you have a wedding coming up.

Multiple Curve Adjustment Layers


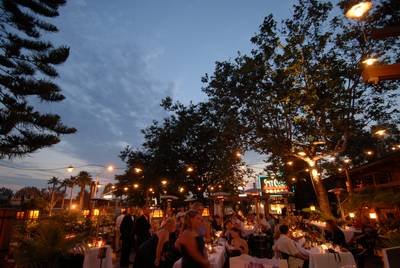
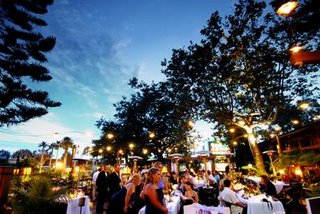
This trick comes in handy often when I have an evening shot and want cool twilight skies with a properly (or close to) exposed foreground. I like to shoot these a little under-exposed to not blow out the light part of the sky or the lights. If you adjust for the foreground the sky gets washed out and if the sky looks good, the foreground would be black...

Enter curve adjustment layers (at the bottom of the layers pallet click the half black half white circle then choose curves)... Do the first one to make the foreground look good, don't worry about the sky yet. When it looks good use the gradient tool (press 'g' to select it from the tools; be sure to use the simple black to white gradient from the picker on the top left of your workspace) on the mask to fade the effect (the mask should be active after creating the adjustment layer). If you don't like the first try with the gradient tool simply keep doing it over and over, the new just erases the old.

This is what you will have, a yucky grey/blue sky...

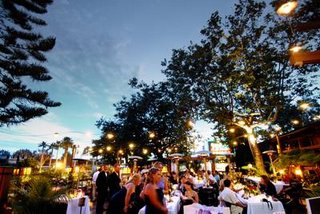
Now, make another curve adjustment layer and correct for the sky (this will usually be a steeper 's' curve). When done with the curve, you need to make the gradient mask for this layer. Here's the trick: make the first mask you made active by clicking on it in the layers pallet. Then hold down 'alt' while you drag this mask to the new mask. PS will ask you if you want to replace the current mask, click 'yes'. Now, with the new mask active hit 'ctlr i' to invert the mask and viola!

The finished product.
This shot was taken on Sunday at Salt Creek Grille in Dana Point. I was there for a wedding reception and got to taste their magnificent food. I had never been there and can't wait to go back. Sri, the Event Sales Coordinator and the staff were great and I loved the ambiance... I want the hanging lights for my backyard!!

Monday, June 26, 2006

My Kids!


So I was unloading a background and lightstands from the car today and thought how long it had been since I shot the kids with a backdrop....


I didn't clean them up or anything, just grabbed their sweaty little hands (very humid today) and had them sit for a moment.

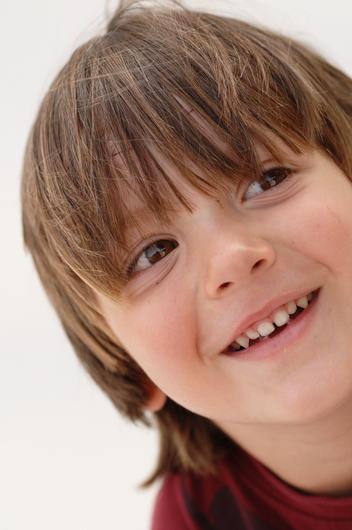
Caysen lasted about 7 minutes or so- enough for me to get off 91 frames. They will both be getting their hair cut soon so I thought I should record the shag.

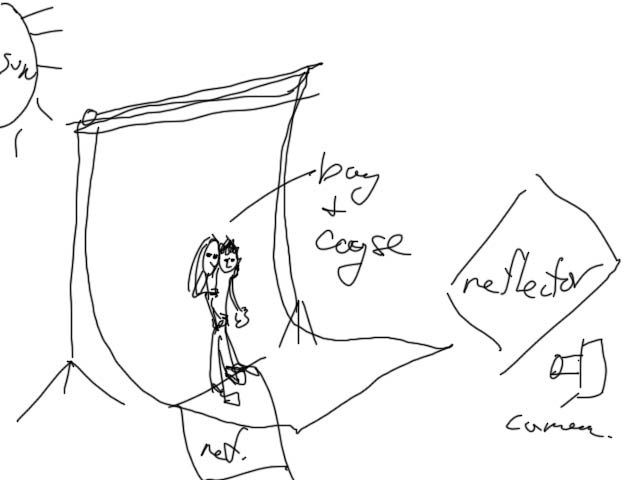
The sun was low, so I just had the backdrop facing away from the sun so it was backlit (check the pro diagram)- to try to hide any shades of grey. The backdrop should be a few stops hotter than your exposure to make it pure white. Paper is inexpensive, a neutral in tone, and is easy to set up. However, it isn't very durable- I usually let the kids color on it when the shoot is done.

I then used two reflectors to fill in their faces- very cool light. If the reflector is in full sun, I use white, if it is in the shade, I use silver or silver/gold.

I didn't give them much instruction, just to sit and where to look sometimes...

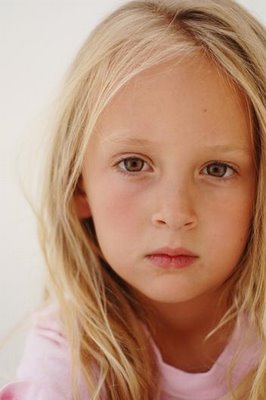
Bailey is growing up fast. She had this little model attitude (not bad, just.......just confident and a little sassy). She said she didn't want to be there, but she seemed to really like it...